Launching the Instance for the Medusa Backend on AWS
Last Updated: May 26, 2023
This guide will walk you through launching an AWS EC2 instance that we will use to install and run our Medusa backend. If you’re already familiar with AWS EC2, you can likely spin up and instance quickly and go ahead and skip on to Part 2.
Sign Up for AWS
If you don’t already have an AWS account, you can sign up here.
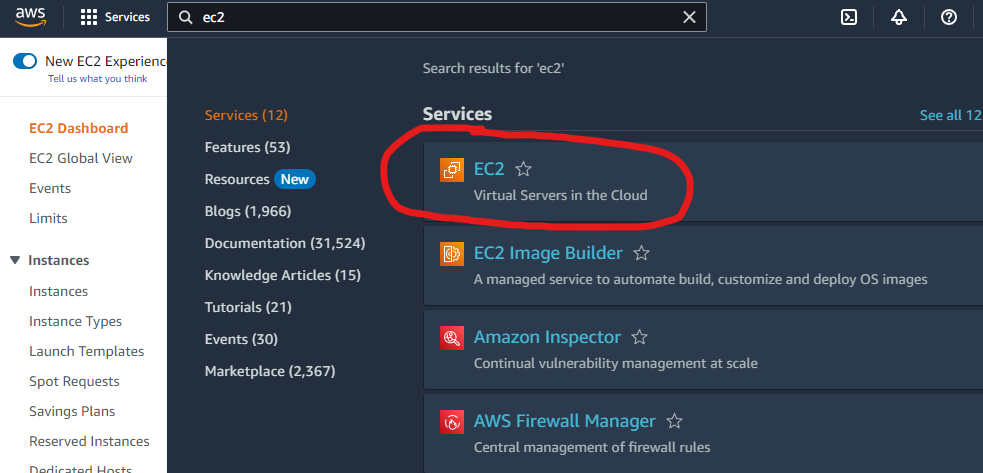
Select the EC2 Service
From the console, type “ec2” into the search box at the very top. Select the EC2 service, as shown in the image below.
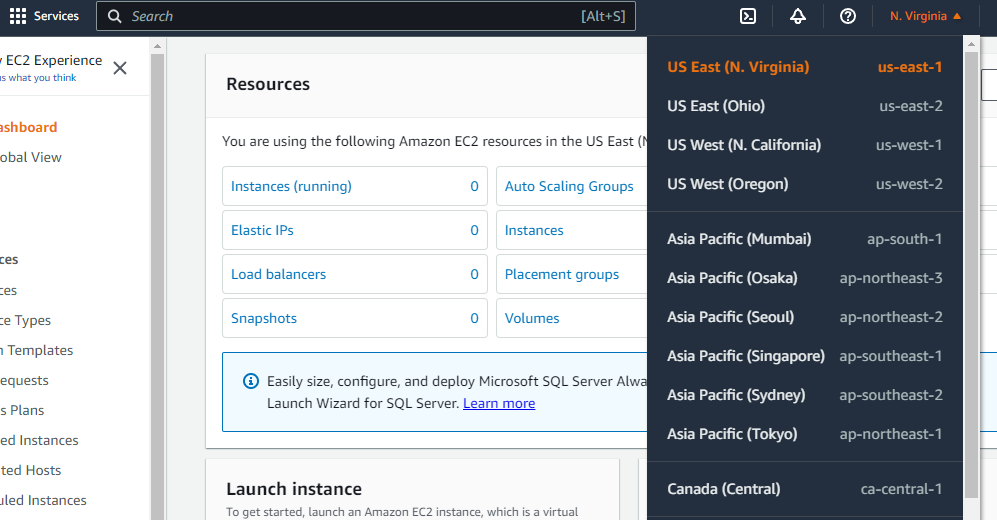
Choose a Region
In the upper right corner, select the region you want to use. This guide will use us-east-1, but you can choose any region you want that your AWS account has access to.
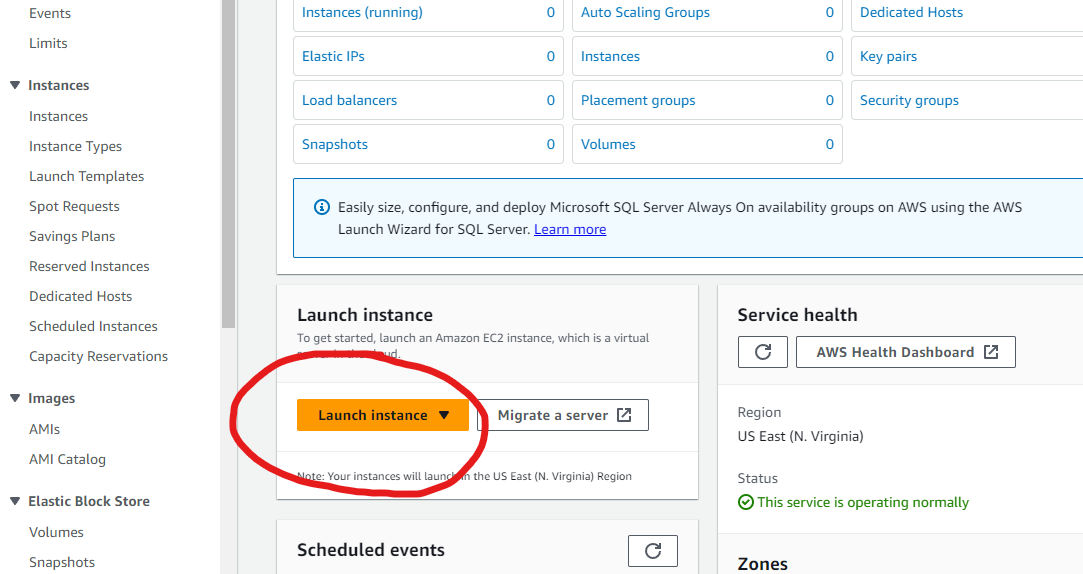
Launch an Instance
Click the “Launch Instance” dropdown button and select “Launch Instance”.
Choose a name for the instance. Any name is fine.
Choose an Amazon Machine Image (AMI)
Select the Ubuntu Server 22.04 LTS (HVM), SSD Volume Type AMI. This guide will use the 64-bit (x86) version, but the 64-bit Arm version will likely also work for this guide.

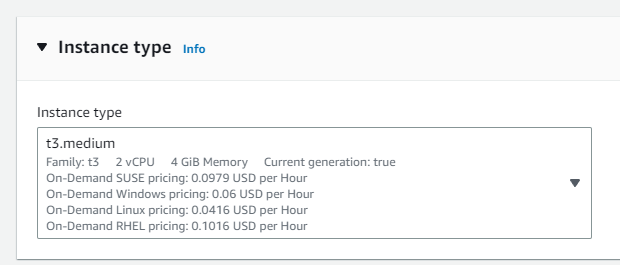
Choose an Instance Type
Select and instance type. I suggest the t3 instance family to start. This is a generic type of instance that is balanced in terms of memory, compute, and networking capacity. You can experiment with different instance families later if you want.
We are going to be packing a lot of services onto this instance, and we are going to be using this instance to do our build step. So, I recommend at least a t3.medium. If you can, go with a t3.large or t3.xlarge. If you are using the instance for development, you can save by shutting down the instance when you are not using it.
Create a Key Pair
You will need to create a key pair to access your instance. If you already have a key pair, you can select it from the dropdown. Otherwise, create a new key pair and download it. You will need to keep this file safe. If you lose it, you will not be able to access your instance.
Confirm Network Settings
If you have a Security Group already with settings you want to use, select the group here. If not, or if you are unsure what a Security Group is, you can create a new one. You can always change the settings later.
I suggest you make a small change from the suggested settings for creating a new security group. If your Internet connection gives you a pretty stable IP, you can limit SSH incoming traffic to only allow your IP. Otherwise, you can leave it open to the world. The keyfile is needed to log into SSH, but it’s better if an attacker can’t reach the service to make login attempts at all. You can always change this later if you need to.
Confirm Storage Settings
You can change the default storage settings, if you want. The default will be fine for a test image, but a large production database would likely need more storage. You can always add more storage later by making an AMI of your instance and then launching a new instance from the AMI with the new storage settings. So, don’t worry about adding extra storage space to “future-proof” the instance.
Launch the Instance
Finally, on the right, click “Launch Instance.”
Attach an Elastic IP
If you are going to be using this instance for development, you can skip this step. If you are going to be using this instance for production, you will want to attach an Elastic IP to the instance. This will allow you to keep the same IP address even if you stop and start the instance. Otherwise, the IP address will change every time you stop and start the instance.
Allocate an Elastic IP
From the EC2 Dashboard, select “Elastic IPs” from the left menu. Then, click “Allocate Elastic IP address.” Click the orange button at the bottom right, “Allocate.”
Associate the Elastic IP with the Instance
Select the Elastic IP you just created and click “Actions” and then “Associate Elastic IP address.” In the Instance dropdown, select the instance you just created. Then, click “Associate.”
When you shutdown and restart your EC2 instance, it will now keep the same IP address.
SSH into the Instance
Once the instance is running, you can SSH into it. If you are using a Mac or Linux, you can use the terminal. If you are using Windows, you can use PuTTY or WSL. I strongly recommend using WSL if you are on Windows. It will make your life much easier.
SSH with a Mac or Linux
Copy the .pem file you downloaded earlier to the .ssh folder in your home directory, ~/.ssh. Then, change the permissions on the file so that only you can read it.
chmod 600 ~/.ssh/your-key-file.pemThen, SSH into the instance using the public DNS name or the public IP of the instance and the key file. In the example below, 1.2.3.4 is the Elastic IP you associated with the instance in the step above.
ssh -i ~/.ssh/your-key-file.pem [email protected]